Video conferencing
Содержание
Calls
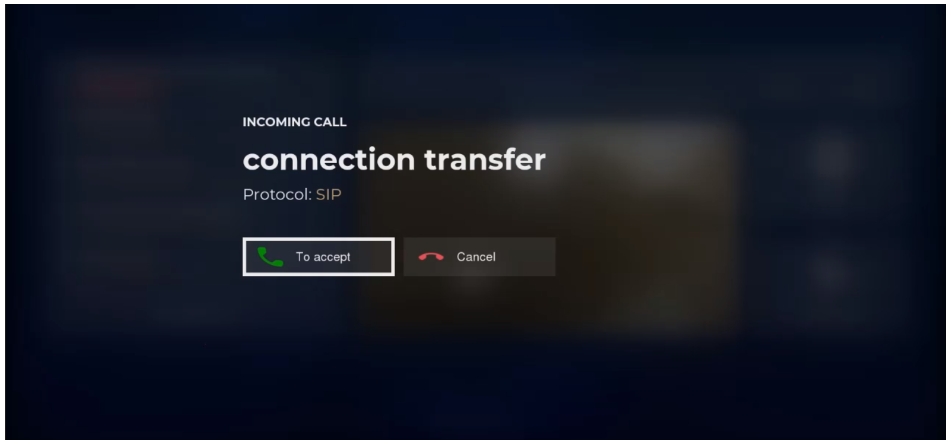
Incoming call
Two ways to receive an incoming call:
- "Call" control button (11);
- with the OK control button (19) on the “Accept” field (default focus).
There are two ways to cancel an incoming call:
- control button "End" (21);
- using the "OK" control button (19) move the focus to the "Cancel" field.
When you receive an incoming call the "Contact ID" is displayed (the name transmitted by the caller).
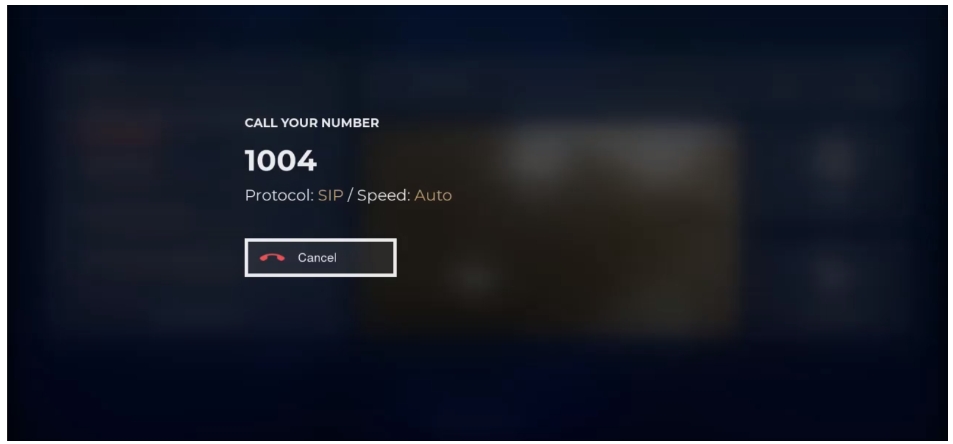
Outgoing call
During an outgoing call the screen displays: contact ID, protocol, speed. Cancel an outgoing call in the dialer window using the "End" control button (21). Information messages on the outgoing call screen:
- "Account does not answer" - the called account does not accept the call;
- "Call failed" - technical errors that occurred during the call;
- "No network connection!" - network failure at the time of the call;
- "No licenses!" - there are no installed licenses;
- "H.323 protocol disabled!" - a call via the H.323 protocol with disabled support for this protocol;
- "SIP protocol disabled!" - a call via SIP protocol with disabled support for this protocol;
- "SIP and H.323 disabled!" - a call using the "Auto" protocol with disabled support for the SIP and H.323 protocols.
"Auto" call protocol
When making an outgoing call with the "Auto" protocol selected two dialing attempts are made with different protocols (SIP and H.323):
- first attempt with the protocol selected by default in the web interface;
- if support for one of the protocols is disabled in the settings; only one call attempt is made using the remaining protocol regardless of the default protocol;
- If the called subscriber does not accept or drops the first incoming call the account receives a second call using a different protocol (SIP or H.323).
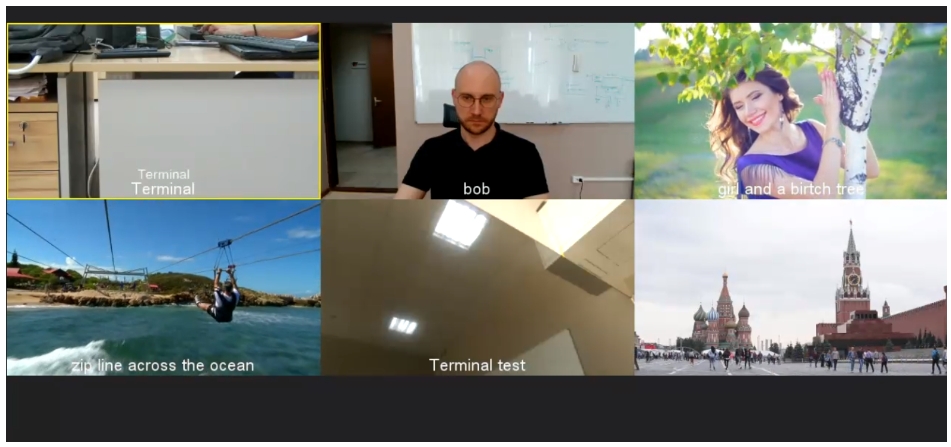
The conference
Camera and preset control
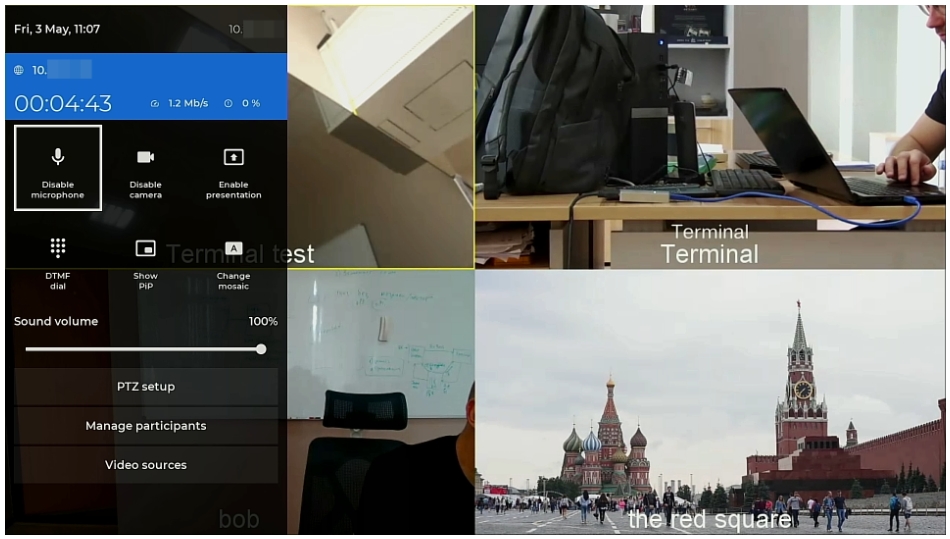
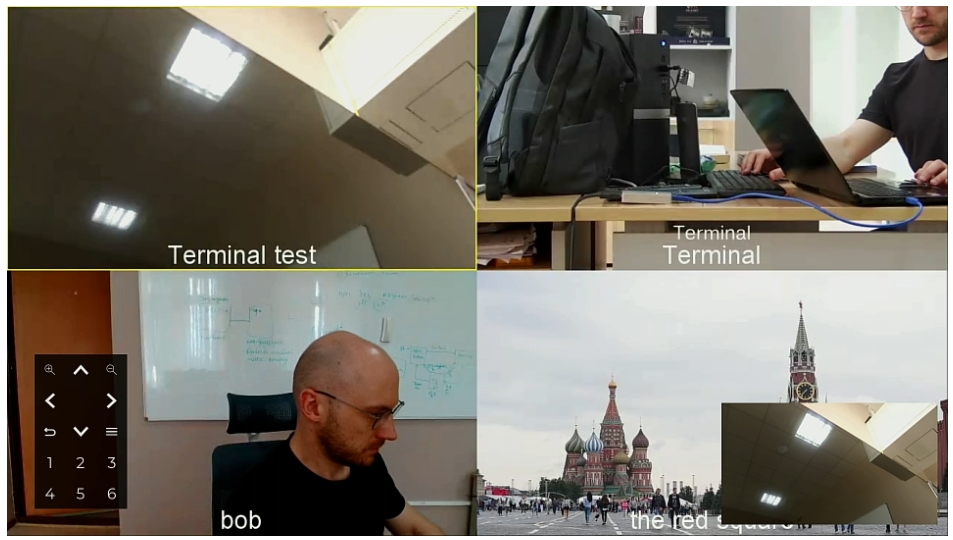
To control the camera and presets: a) open the conference control menu by pressing the “OK” button (19) or by pressing the focus control buttons [Figure 45];
b) move the focus to the "PTZ settings" button and press "OK" (19);
c) change the camera position using the control buttons:
- camera direction – “Up” (4), “Right” (5), “Left” (6), “Down” (7);
- zoom – “Zoom in” (17), “Zoom out” (18).
- loading or saving a preset – “Numbers” (12) from 1 to 6 inclusive:
- short press – load a previously saved preset;
- long press – saves the current camera position to a preset. The message “Preset saved” will be displayed.
d) close the camera control using the “Back” control button (8) – the camera window closes and the selected camera position is saved.
The transition to camera control can be done by pressing the arrows on the control panel. Quick selection of presets is done by the 1-6 digital field buttons without switching to the PTZ control mode.
Control of the PTZ camera on the terminal is available to the interlocutor when calling via the H.323 protocol by default.
Picture in picture
The active conference page displays both the main image full screen and an additional image in the corner of the main image which takes up about an eighth of the screen:
- video stream from your camera; change the display location or remove it using the "Back" control button (8);
- the second incoming stream; change the display location or remove it using the "Layout" control button (23);
- two incoming streams; swap them using the control button "Backspace" (10).
Online presentation
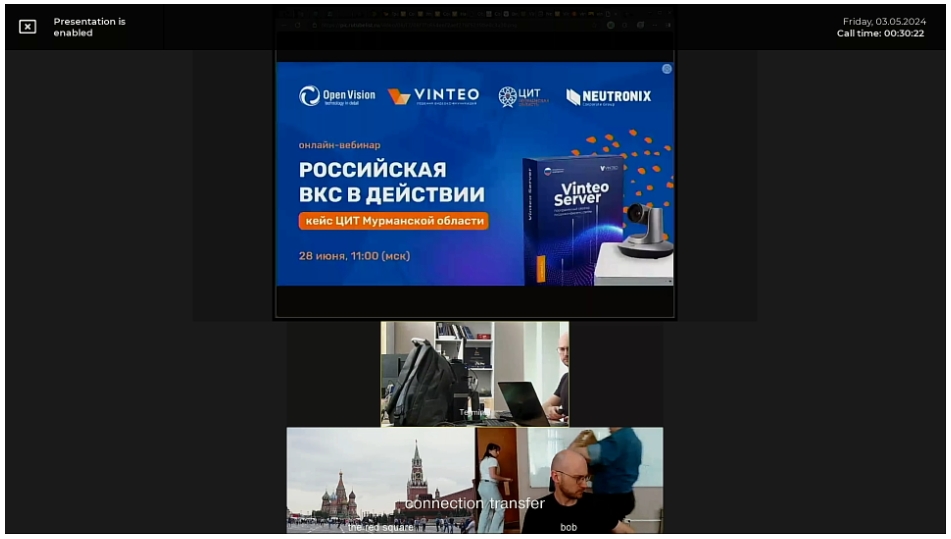
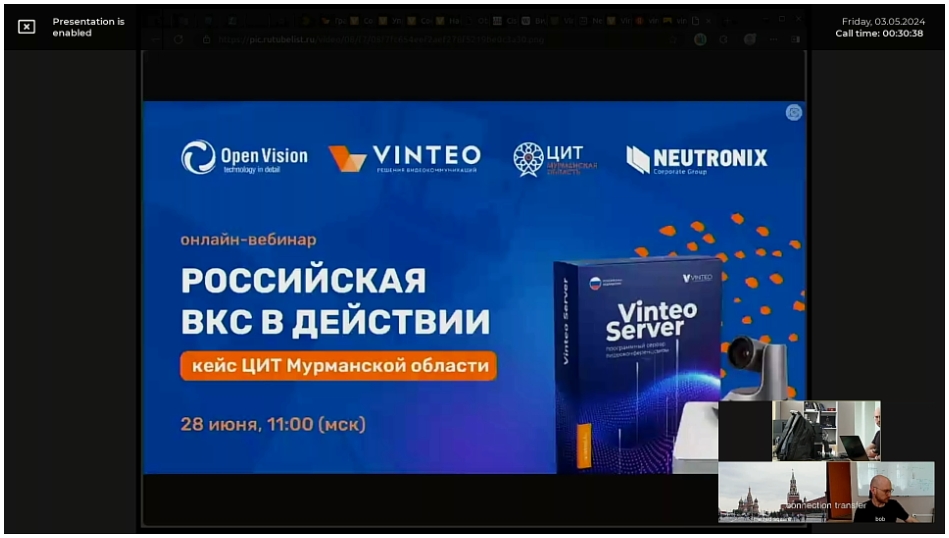
Transmission of an additional outgoing image stream from the designated video input using the “PC” control button (15) or via the conference control menu. The transmitted presentation is interrupted when another participant (server) starts a presentation in the conference. When connected to the Vinteo Screencast terminal you can select the presentation source at startup.
It is possible to change the presentation mosaic using the "Backspace" button (10) if one monitor is connected. If two monitors are connected to the terminal the main video stream is displayed on monitor 1 and the presentation (second video stream) on monitor 2.
Device management
To control the devices use the control buttons:
- change the sound volume: “Volume +” (2) and “Volume –” (3):
- switching between audio input and audio output – “Save” (20);
- turning the camera off (on) – “Turn on” (1);
- turning the microphone on (off) – “Microphone” (16);
- change camera for conference output – “FAR” (14).
Video signal sources
The video source control menu corresponds to the "Video Inputs" menu.
