Vinteo Server Installation Manual: различия между версиями
Alina (обсуждение | вклад) |
Alina (обсуждение | вклад) |
||
| Строка 33: | Строка 33: | ||
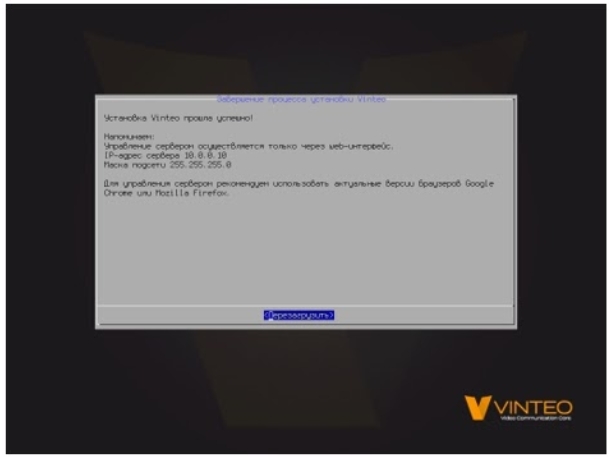
After the process of copying data is completed the window appears with information about the network default settings. | After the process of copying data is completed the window appears with information about the network default settings. | ||
Disconnect the installation ISO image from the virtual machine to boot from the HDD. Click Reload/”Перезагрузить” button. | Disconnect the installation ISO image from the virtual machine to boot from the HDD. Click Reload/”Перезагрузить” button. | ||
| + | [[Файл:Vinteo Server Setup 6.jpg|800px|безрамки|центр|Vinteo Server Setup 6]] | ||
| + | ==== The Initial loading and initialization of the Vinteo server ==== | ||
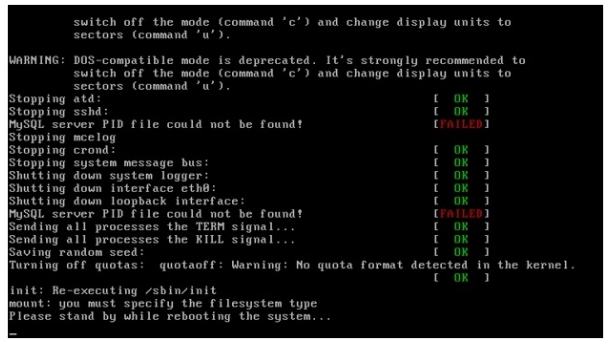
| + | Wait for the end of the installation and initializing the of the system. | ||
| + | '''Attention! The server will automatically restart 2 times during this process.''' | ||
| + | [[Файл:Vinteo Server Setup 7.jpg|800px|безрамки|центр|Vinteo Server Setup 7]] | ||
| + | === Getting started with the Vinteo server === | ||
| + | ==== The Server console ==== | ||
| + | The standard state of the Server console in its working state is a command line of the form: | ||
| + | #>_ | ||
Версия 11:08, 28 июля 2020
Содержание
Requirements of Software and virtual environment
Software required to start the installation process
Installing the Vinteo server on a virtual machine is done through the installation DVD. The ISO-image can be downloaded from
https://download.vinteo.com/VinteoServer/.
Requirements of Hypervisor and Virtual machine Settings
VMware hypervisor is supported. Minimum requirements on a virtual machine for installing a Vinteo server:
- Processor (vCPU) - 4 cores (with support for AVX2, with a frequency of 2.2 GHz and higher)
- RAM - 4 gigabytes
- Network adapter - e1000
- HDD - SCSI or SATA or IDE volume above 20 GB
Installation process from the ISO image
The Initial boot
Create the virtual machine. Boot it from the downloaded vinteo-server.iso image. The screen with VCS "VINTEO" sign will appear on the screen.
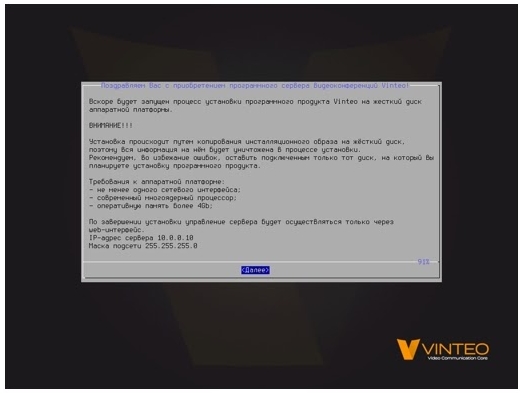
The Installer Welcome Screen
Wait for the installer to load. The welcome window with the hardware requirements and default network settings information will be displayed on the screen. Read the information and click Next.
The License agreement
The window with the text of the license agreement will be displayed. Using the TAB key navigate to right button. Click the Accept License button/“Принять лицензию” to continue the installation.
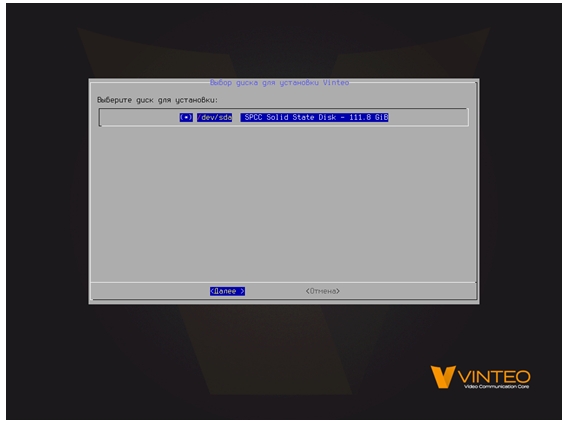
Choosing the drive to install
You have to select the drive to install the system. If there are several disks select one and click Next.
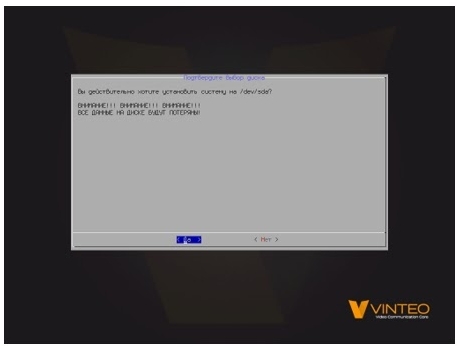
Data Overwrite Warning
All data on the selected drive will be destroyed and overwritten during installation. Read the warning on this and click “Yes”/“Да”(left button) to continue the installation.
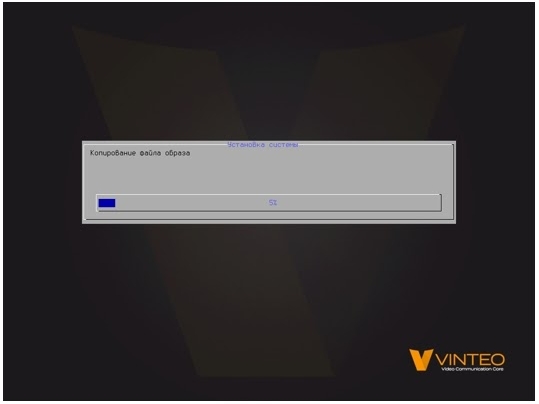
Data copying process
The installation process will start. Data will be copied. You can watch the progress bar.
Completing the copy process and rebooting
After the process of copying data is completed the window appears with information about the network default settings. Disconnect the installation ISO image from the virtual machine to boot from the HDD. Click Reload/”Перезагрузить” button.
The Initial loading and initialization of the Vinteo server
Wait for the end of the installation and initializing the of the system. Attention! The server will automatically restart 2 times during this process.
Getting started with the Vinteo server
The Server console
The standard state of the Server console in its working state is a command line of the form:
- >_

